Introduction:
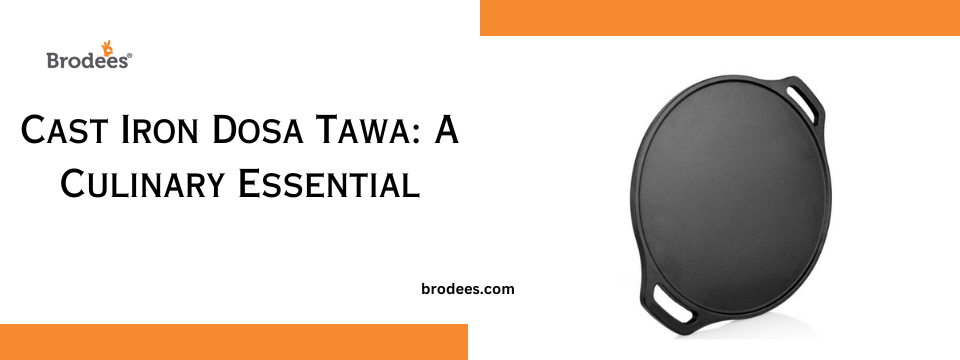
In the realm of South Indian cuisine, dosas hold a special place. These thin, crispy pancakes made from fermented rice and lentil batter have captured the hearts of food enthusiasts worldwide. To achieve the perfect dosa, one needs a key tool—the cast iron dosa tawa.
The Marvels of a Cast Iron Dosa Tawa:
a. Heat Retention and Distribution:
Cast iron tawas are renowned for their exceptional heat retention capabilities. They distribute heat evenly across the surface, ensuring uniform cooking of the dosa.
b. Non-Stick Properties:
With regular seasoning and proper care, cast iron develops a natural non-stick surface. This feature allows dosas to be cooked with minimal oil, resulting in healthier and tastier creations.
c. Durability:
Cast iron tawas are built to last. Their robust construction makes them resistant to warping and scratching, ensuring a reliable cooking surface for years to come.
Seasoning and Maintaining Your Cast Iron Dosa Tawa:
a. Seasoning:
Before using your cast iron dosa tawa for the first time, it is essential to season it properly. This process involves coating the tawa with oil and heating it to create a protective layer that prevents rust and enhances the non-stick properties.
To season, clean the tawa thoroughly, apply a thin layer of vegetable oil, and heat it over medium heat for about 30 minutes. Repeat this process a few times until a glossy, black patina develops.
b. Cleaning and Maintenance:
After each use, gently clean the tawa using warm water and a soft brush or sponge. Avoid using soap or abrasive cleaners, as they can strip away the seasoning.
Dry the tawa completely to prevent rusting. If necessary, heat it on the stovetop for a few minutes to ensure all moisture has evaporated.
Apply a thin layer of oil after each use to maintain the seasoning and protect the tawa.
Mastering the Art of Dosa Making:
a. Preparing the Dosa Batter:
Soak a combination of rice and urad dal (split black lentils) in water for a few hours, then grind them into a smooth paste. Allow the batter to ferment overnight to develop the characteristic tangy flavor.
b. Preheating the Tawa:
Place the cast iron dosa tawa on medium-high heat and let it heat up for a few minutes. Sprinkle a few drops of water on the surface, and if they sizzle and evaporate quickly, the tawa is ready.
c. Spreading and Cooking the Dosa:
Ladle a small amount of batter onto the center of the hot tawa and, using the back of the ladle or a flat-bottomed cup, spread the batter in a circular motion to form a thin, even layer.
Drizzle a little oil around the edges and on top of the dosa.
Cook the dosa until the edges turn golden brown and crisp, and the center is cooked through.
Fold the dosa and serve it hot with coconut chutney, sambar, or your favorite accompaniments.
Conclusion:
A cast iron dosa tawa is a prized possession for any dosa enthusiast. Its remarkable heat retention, non-stick properties, and durability make it an essential tool in the quest for the perfect dosa. By seasoning and maintaining the tawa properly, you can ensure its longevity and enjoy the benefits of hassle-free dosa cooking. Get ready to savor crispy, golden dosas that will transport you to a world of delectable delights. And if you are looking for the best cast iron tawa for dhosa making then Brodees is the perfect choice for you.Happy dosa making!

