Introduction:
In the vast realm of Indian cuisine, roti holds a cherished place as a staple food. This traditional flatbread is not only delicious but also an integral part of everyday meals. Behind every perfectly puffed and golden brown roti lies an essential tool—the roti tawa
Understanding the Roti Tawa:
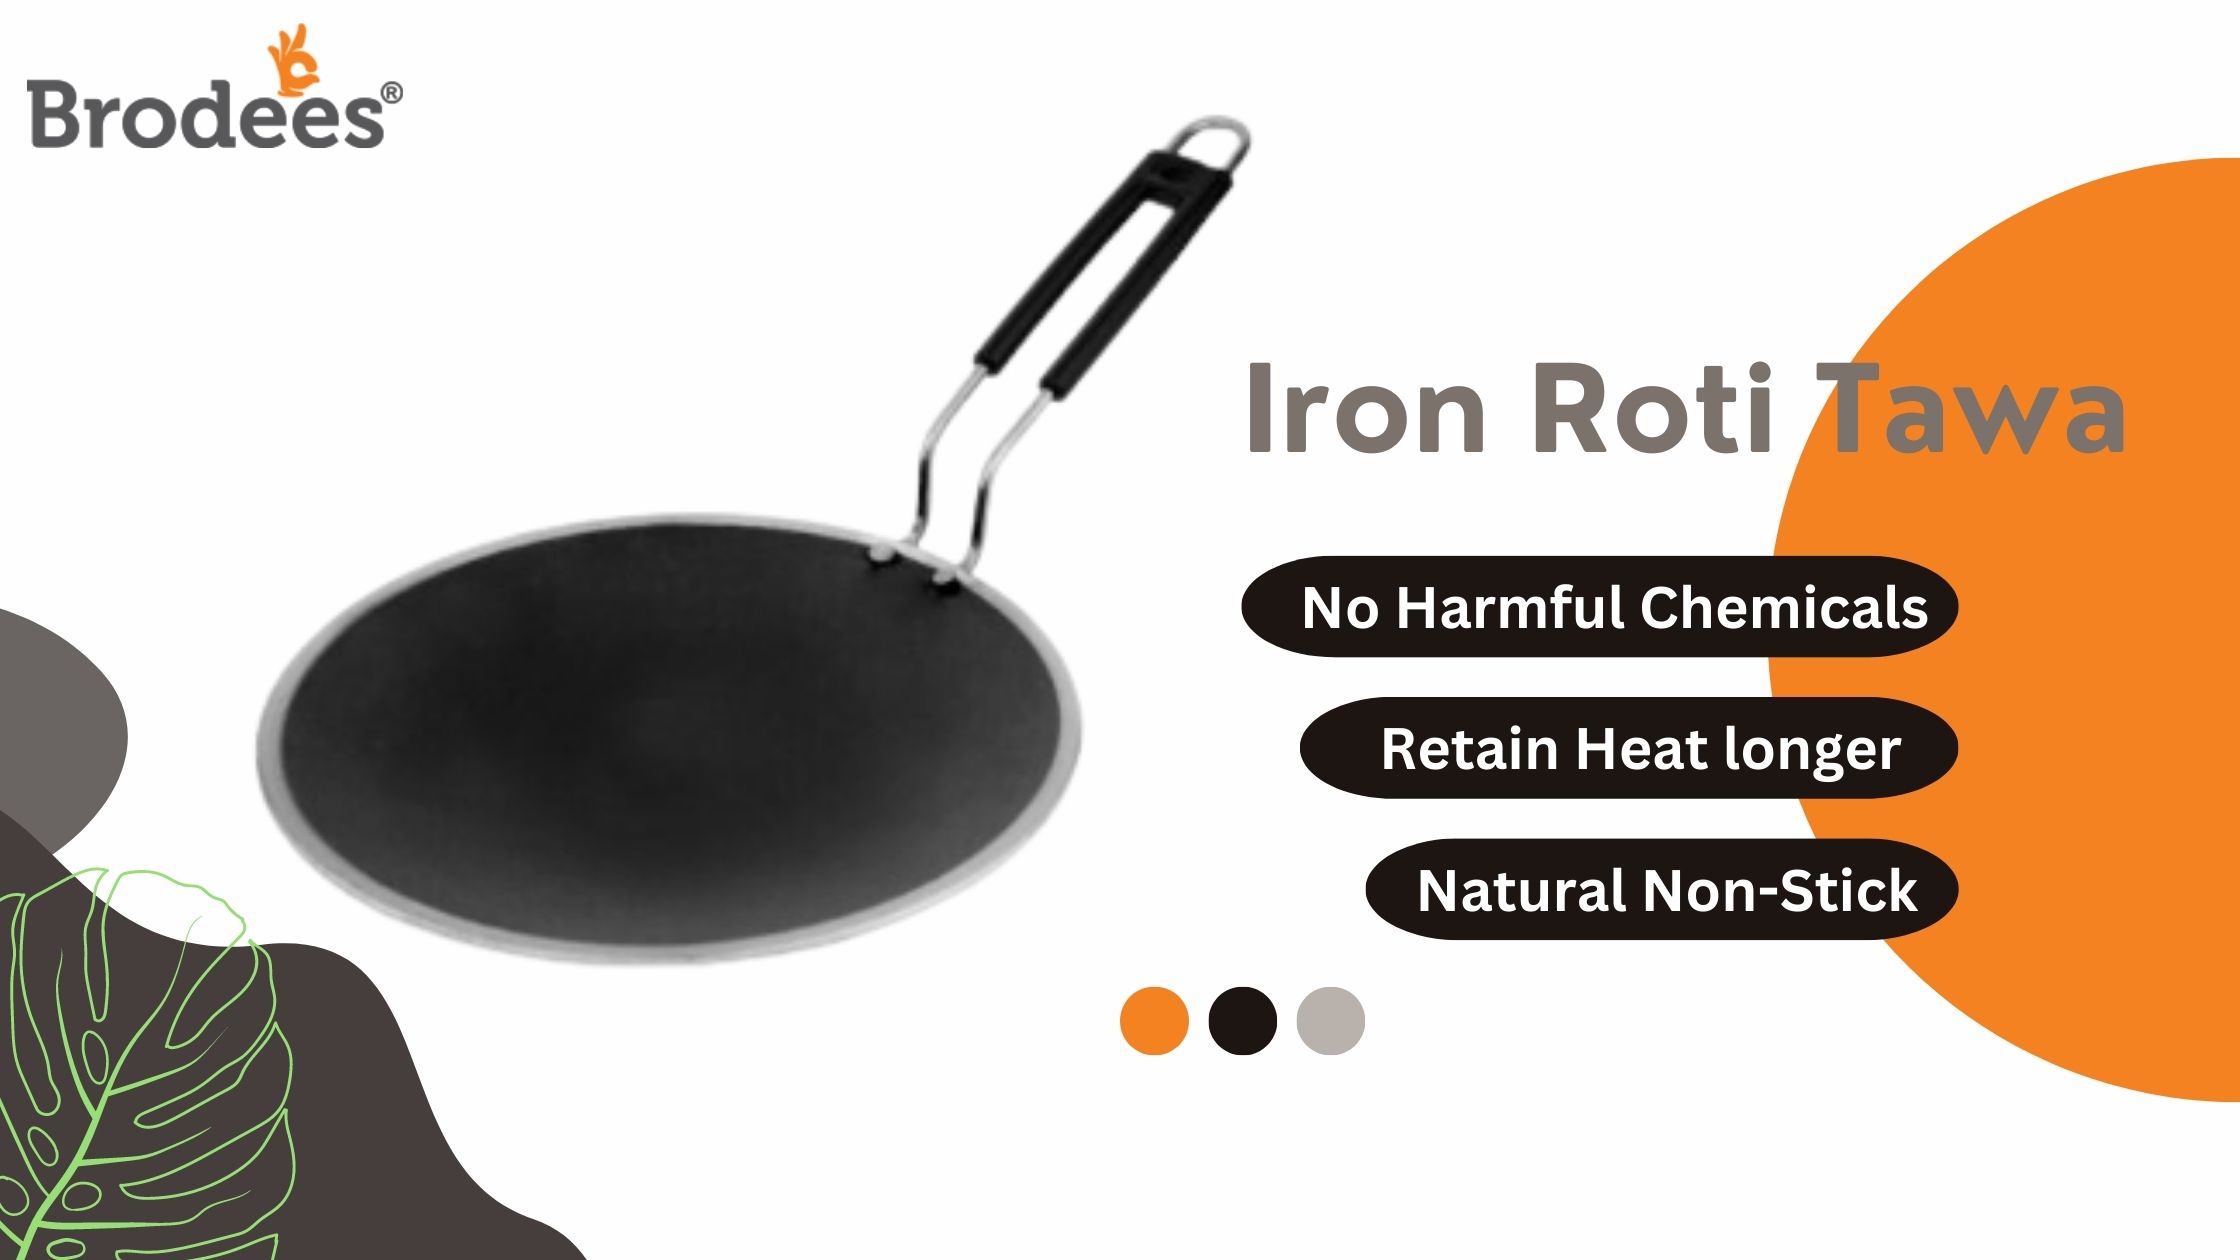
A roti tawa, also known as a chapati tawa, is a circular, flat griddle or pan used for cooking rotis. It is typically made from materials like cast iron, carbon steel, or non-stick coatings. The tawa’s design ensures even heat distribution and enables the roti to cook evenly, resulting in the desired texture and taste.
Choosing the Perfect Roti Tawa:
a. Material:
Cast Iron: Known for its excellent heat retention, cast iron tawas are favored by many due to their ability to deliver even cooking and consistent results.
Carbon Steel: Lightweight and quick to heat up, carbon steel tawas offer similar benefits to cast iron but with a reduced weight.
Non-Stick: Non-stick tawas provide convenience, as they require less oil for cooking and are easy to clean. However, they may not produce the same level of heat retention as cast iron or carbon steel.
b. Size and Thickness:
Consider the size of your stovetop burner and the number of rotis you plan to make at a time. A medium-sized tawa of around 10-12 inches in diameter is a common choice for household use.
The thickness of the tawa affects heat distribution. Thicker tawas may take longer to heat up but can retain heat better, while thinner tawas heat up quickly but may result in uneven cooking.
c. Handle:
Opt for a tawa with a sturdy, heat-resistant handle that provides a firm grip for safe handling. Some tawas may have dual handles or a long handle for better control while flipping rotis.
Mastering the Art of Roti Making:
a. Preparing the Dough:
Use a soft dough made from whole wheat flour, water, and a pinch of salt. Knead it until smooth and elastic for the best results.
b. Preheating the Tawa:
Place the tawa on the stovetop over medium-high heat and let it heat up for a few minutes. Sprinkle a few drops of water on the surface, and if it sizzles and evaporates quickly, the tawa is ready.
c. Rolling and Cooking the Rotis:
Divide the dough into small balls and roll them into thin, circular discs using a rolling pin and some dry flour.
Place the roti on the preheated tawa and cook for a few seconds until you see bubbles forming on the surface.
Flip the roti and let it cook for a few more seconds until light brown spots appear.
Using a pair of tongs, remove the roti from the tawa and place it directly on the open flame to puff it up.
Repeat the process for the remaining dough balls.
Conclusion:
The roti tawa is an essential tool for making perfect rotis, and selecting the right one can significantly impact your cooking experience. By considering factors such as material, size, thickness, and handle design, you can choose a tawa that suits your needs and preferences. With practice and patience, you’ll soon be able to create a stack of delicious, homemade rotis that will leave everyone asking for more. So, grab your favorite roti tawa and embark on an exciting culinary journey filled with aromatic flavors and delightful textures. Happy roti making!


Discover the Ultimate Betting Experience at [url=https://vkltv.top/strategy-for-total-in-tabletop-tennis/ [b]VKLTV[/b][/url]
Why [url=https://vkltv.top/secrets-of-playing-at-an-online-casino/ [bVKLTV[/b][/url] is Your Best Bet? ]
1. [url=https://1wlmhc.com/v3/jetx-landing?p=e2sa [b]Unmatched Rankings:[/b][/url] Unmatched Rankings:
Find the best bookmakers and casinos instantly with our trusted rating system. [b]VKLTV[/b]makes it simple to choose the top players in the industry.
2. [url=https://1wlmhc.com/v3/reg-form-aviator?p=962n [b]Expert Insights at Your Fingertips: [/b][/url]
Stay ahead of the curve with professional sports forecasts and detailed industry analysis. Maximize your bets with data-driven predictions!
3. [url=https://vkltv.top/poker-strategy-and-tactics-from-professional-players/ [b]Personalized to You:[/b][/url]
Our tailored suggestions ensure your betting experience aligns with your unique preferences. It’s like having a personal guide to betting success!
4. [url=https://vkltv.top/what-is-the-paroli-roulette-strategy/ [b]Winning Strategies & Tips:[/b][/url]
Learn from the best! VKLTV is packed with proven strategies to turn your bets into winnings. From beginners to seasoned players, there’s something for everyone.
5. [url=https://vkltv.top/tennis-betting-strategy-no-1/ [b]One-Stop Platform:[/b][/url]
Enjoy a streamlined, easy-to-use site designed to help you save time, stay informed, and make smarter decisions.
[b]Bet Smarter, Not Harder[/b]
Whether it’s football, basketball, or casino games, [url=https://vkltv.top/martingale-the-essence-of-the-strategy-and-its-application-in-sports-betting/ [b]VKLTV[/b][/url] has you covered with tools, forecasts, and recommendations to take your betting to the next level.
Visit https://tracker.rioaffi.com/link?btag=83502862_372412 now and unlock the secrets to smarter betting. Your winning streak starts here!
Special Bonus
Sign up today to access exclusive offers and promos from top casinos and bookmakers. Don’t miss out!
Bet Like a Pro with [url=https://wlpinnacle.adsrv.eacdn.com/C.ashx?btag=a_16317b_22053c_&affid=16205&siteid=16317&adid=22053&c= [b]VKLTV[/b][/url] – The Future of Betting Starts Here!
[url=https://1wlmhc.com/v3/2451/rocket-queen?p=e7hi][img]https://e.radikal.host/2024/09/22/VKLTV-aviatore10b0e2608256a0d.md.jpg[/img][/url]